Table of Contents
1. Product Overview
Matrix Sport Lab Free Edition is a simple and easy-to-use sports video playback tool designed specifically to help coaches and students review and compare motion videos. It supports both single-video playback and synchronized two-video comparison, and also provides practical features such as slow-motion replay and clip trimming.
This version is completely free. No login or membership is required — just install it and start using it. It is suitable for the following scenarios:
- Motion video replay: Coaches play students' training recordings and explain key technique points frame by frame
- Two-video comparison: Compare a student's motion with a standard demonstration video side by side, so differences are visible at a glance
- Clip trimming: Capture key motion segments from a video for easy saving and sharing
2. Installation and Launch
The Free edition provides an installer. Simply double-click to install and you are ready to use it, with no additional configuration required.
Download the installer: Download MatrixMotionInstitute-Free-v2.0.0-setup.exe from the official website and double-click to run it.
Complete the installation: Follow the installer wizard and click "Next" to finish. A desktop shortcut will be created automatically.
Enter the main interface: Double-click the desktop shortcut to launch the program and start using it.
3. Main Interface Overview
The main window consists of two main parts: the video display area and the control panel on the right. The interface is clean and intuitive.
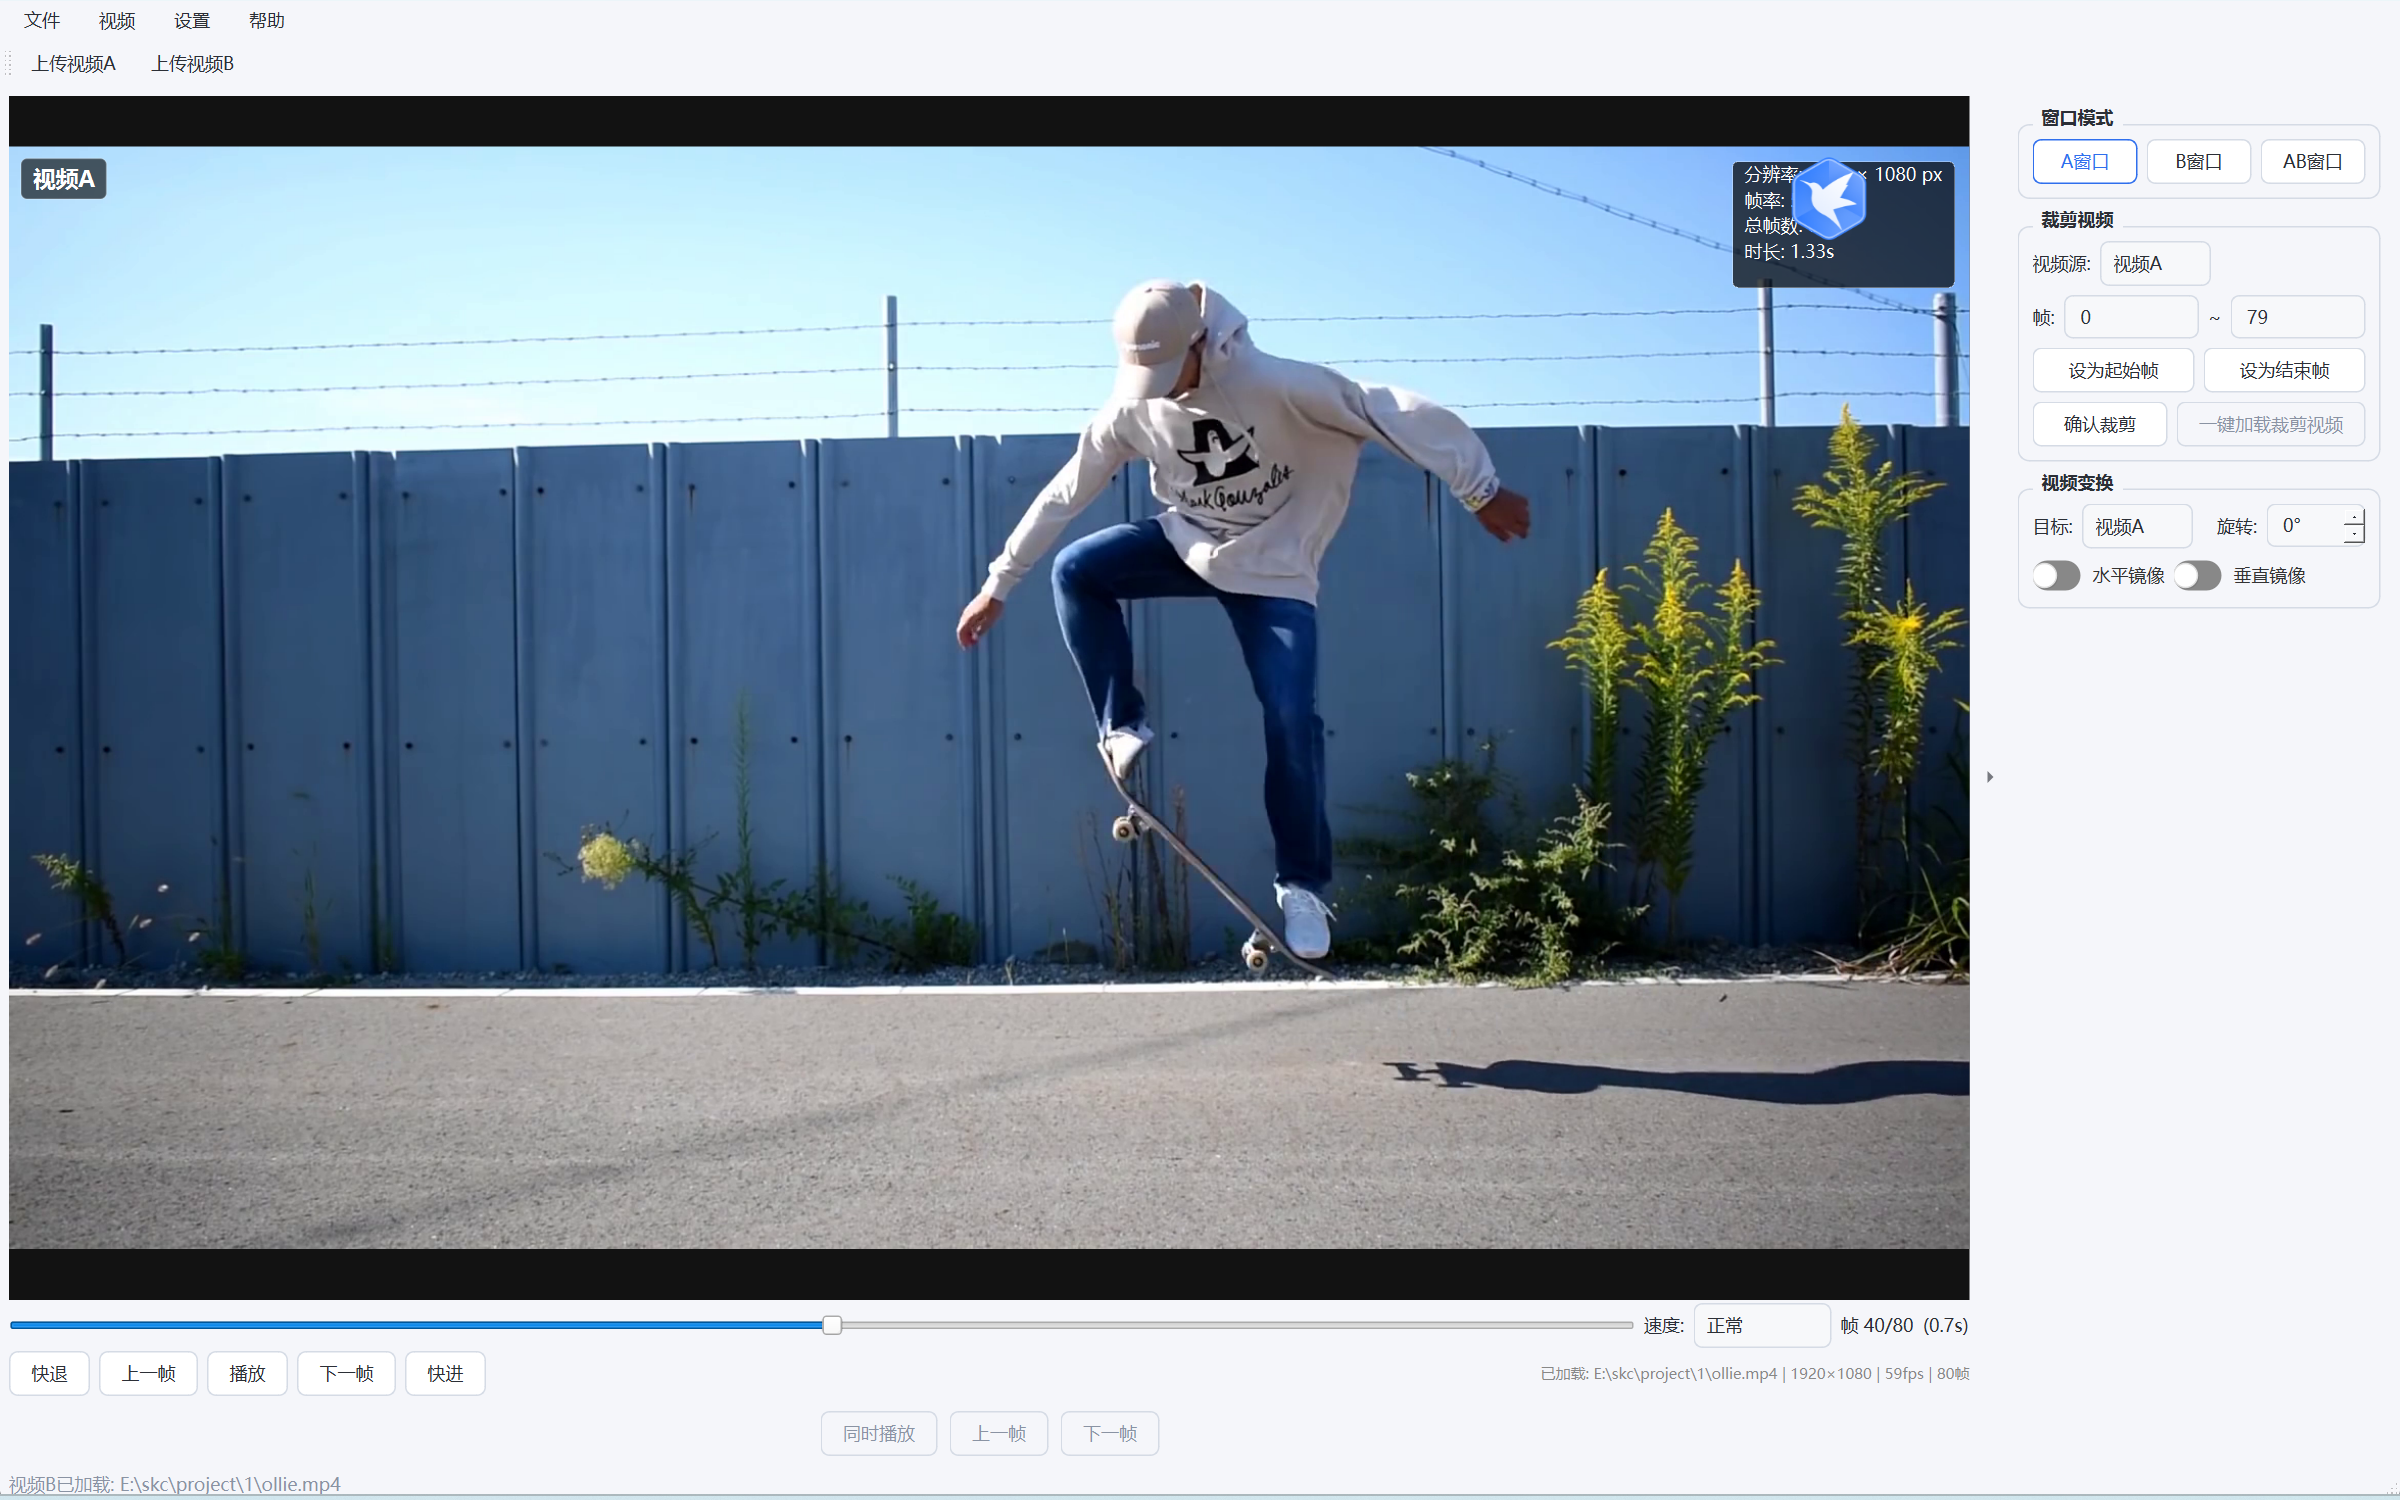
- Video display area: Shows the currently playing video and supports window resizing by dragging
- Control bar: Play/pause, progress bar, and time display
- Function buttons: Open video, two-video mode, trim, mirror/rotate, speed adjustment
4. Opening and Playing Videos
Open a video: Click the "Open Video" button on the toolbar and select a common format such as MP4 / AVI / MOV.
Play/Pause: Click the play button or press Space to toggle between play and pause.
Progress control: Drag the progress bar at the bottom to jump quickly; the interface shows the current time and total duration in real time.
- Fast forward/rewind: Use the arrow keys or control buttons to step forward or backward
- Frame-by-frame review: Review segment by segment while paused so that no motion detail is missed
- Speed adjustment: Adjust freely from slow motion up to 2x speed to slow down and fully understand the power generation process
5. Synchronized Two-Video Playback
The left and right videos play in sync so you can compare motion differences step by step. This is the core feature for teaching review.
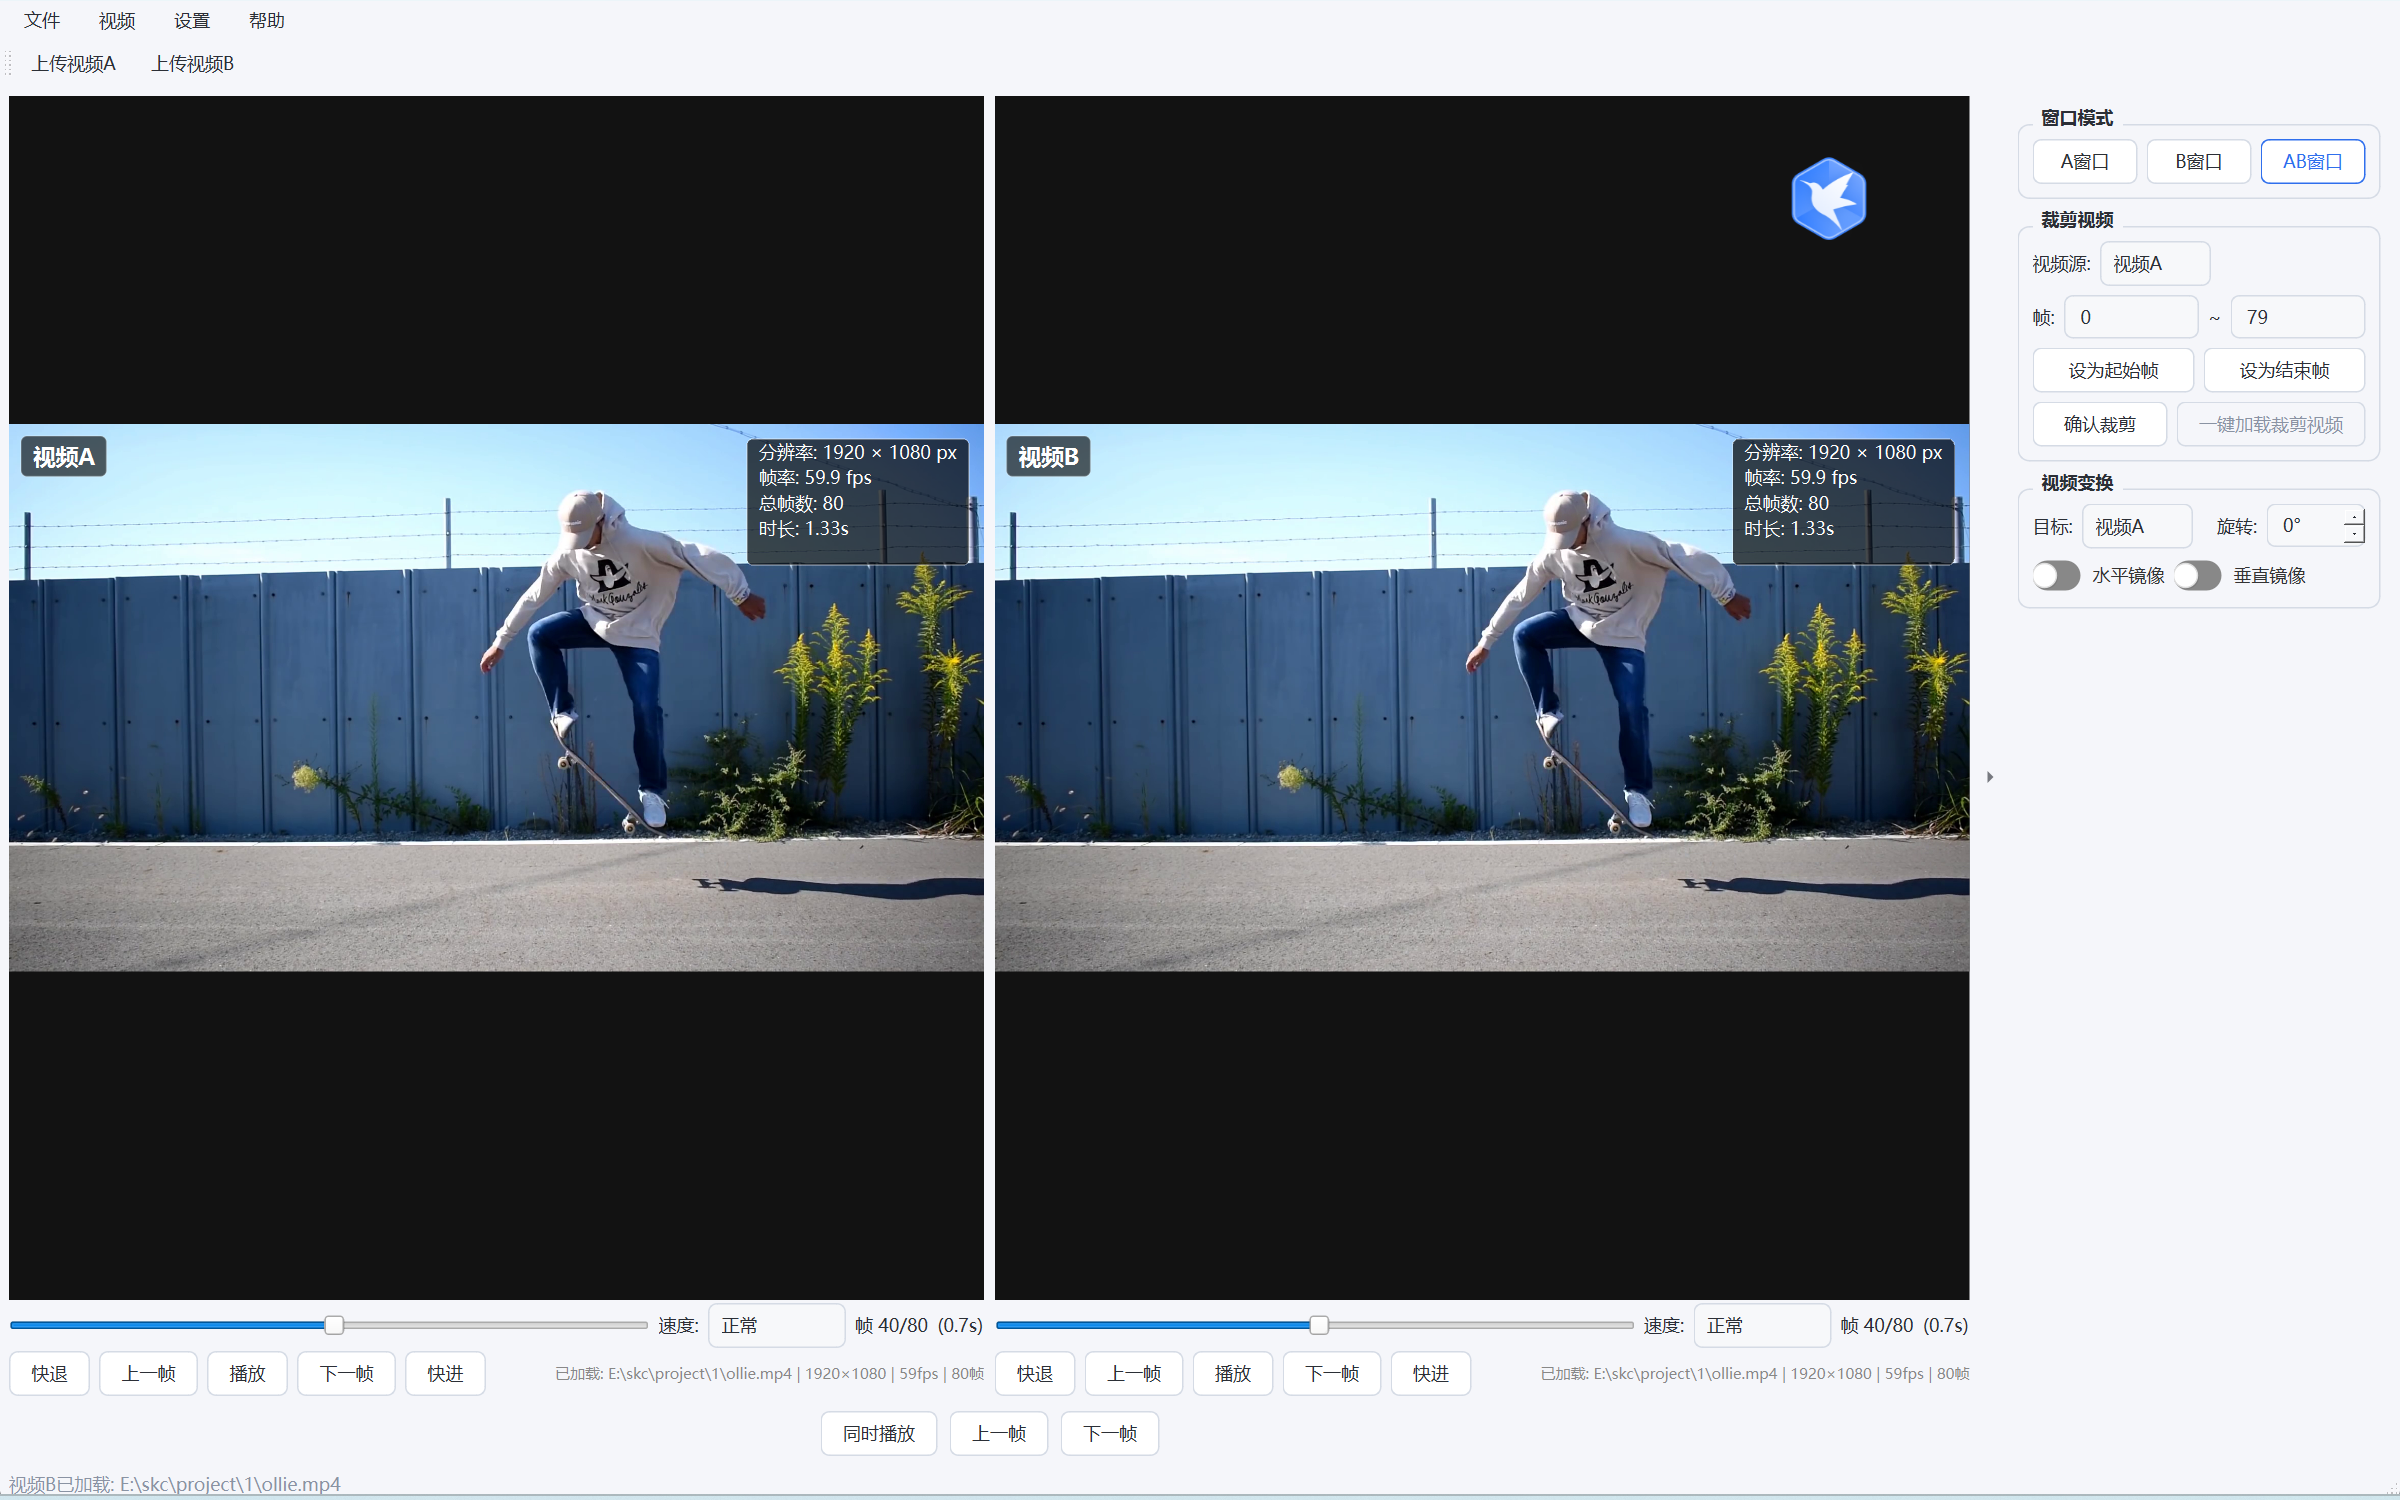
Enter two-video mode: Click the "Two Videos" button and the main window splits into left and right display areas.
Load videos: Click "Open Video" in the left and right areas respectively to load two videos (for example, a student's motion vs a standard demonstration).
Synchronized playback: Both videos play in sync. Dragging the progress of either video makes the other follow.
Second-by-second comparison: After pausing, replay step by step to carefully compare the differences between the two motions.
- Suitable scenarios: Student vs standard demonstration, or comparison of a student's two practice attempts
- Comparison precision: The two videos are precisely synchronized, so the compared positions line up exactly
6. Video Trimming
Set the start point: Play to the position where the clip should start and click "Set Trim Start".
Set the end point: Play to the end position and click "Set Trim End".
Export the clip: Click "Trim and Export", choose a save path, and a video clip of the specified range will be generated.
7. Mirroring and Rotating the Image
- Mirror: Flip the image horizontally, making it easier to compare left-right symmetric motions from the same direction
- Rotate: Rotate the image by 90°/180° to adapt to different shooting angles
8. Switching Window Modes
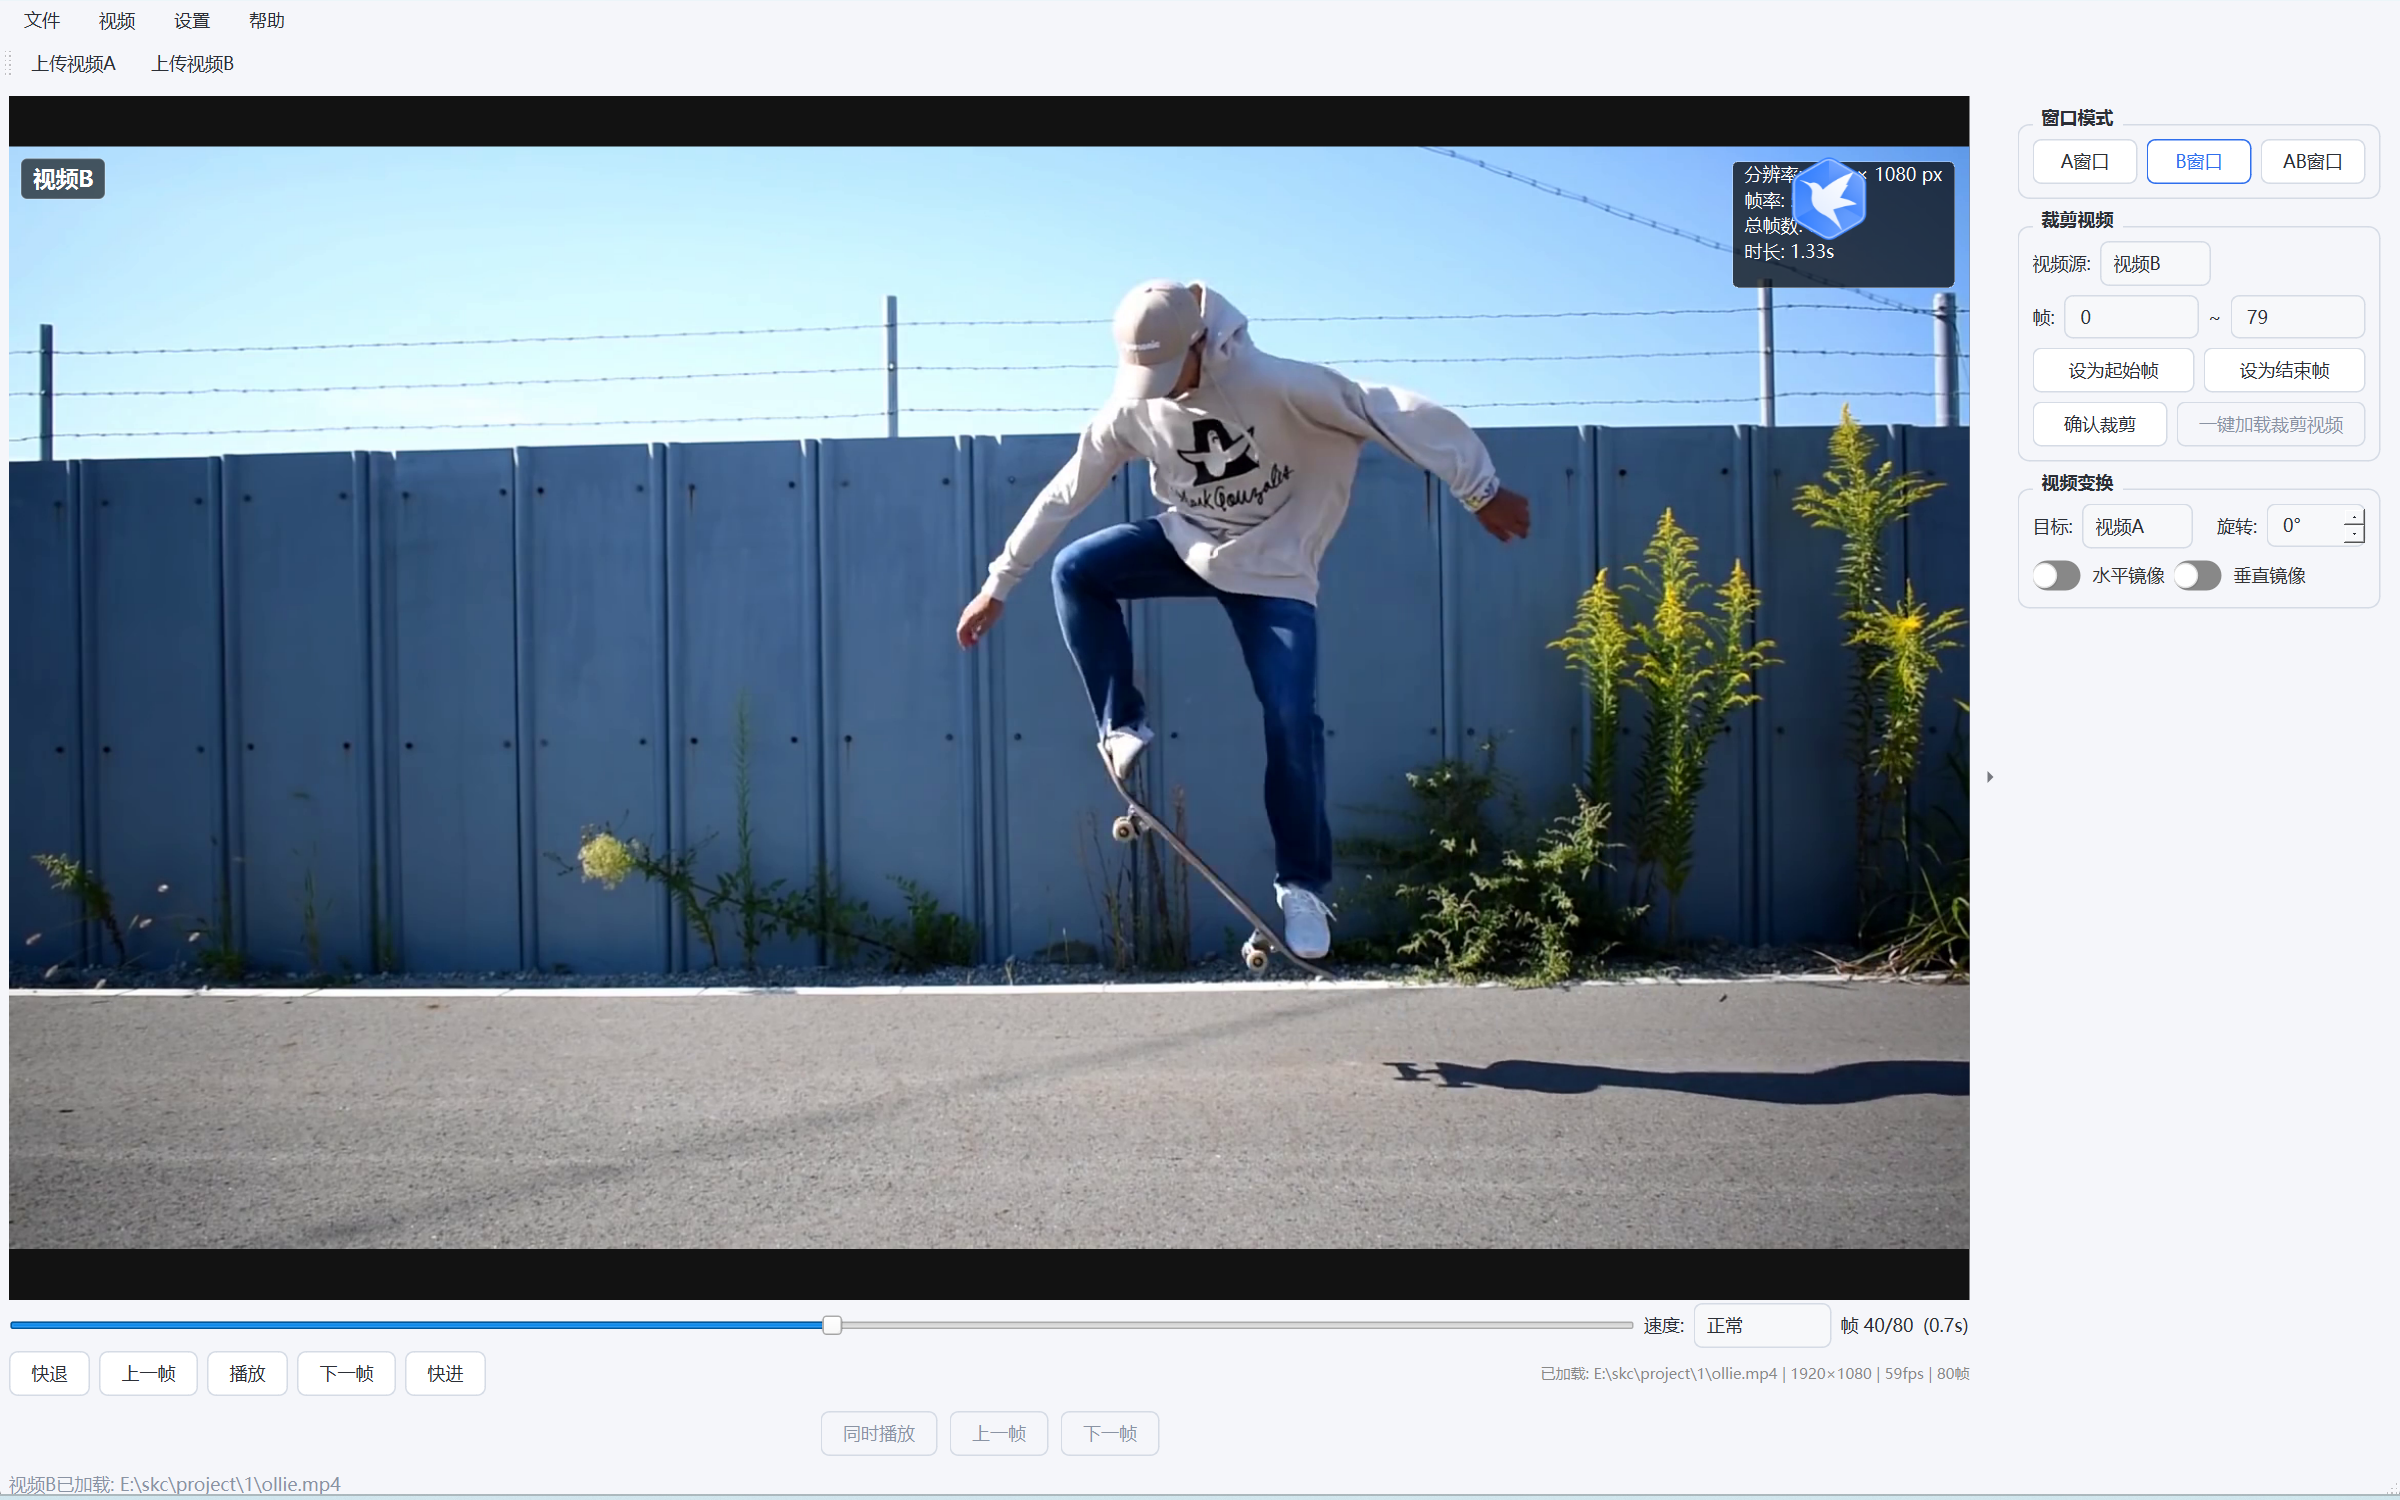
You can freely switch among three modes: "Single Video A / Single Video B / AB Two Videos".
9. Theme Skins
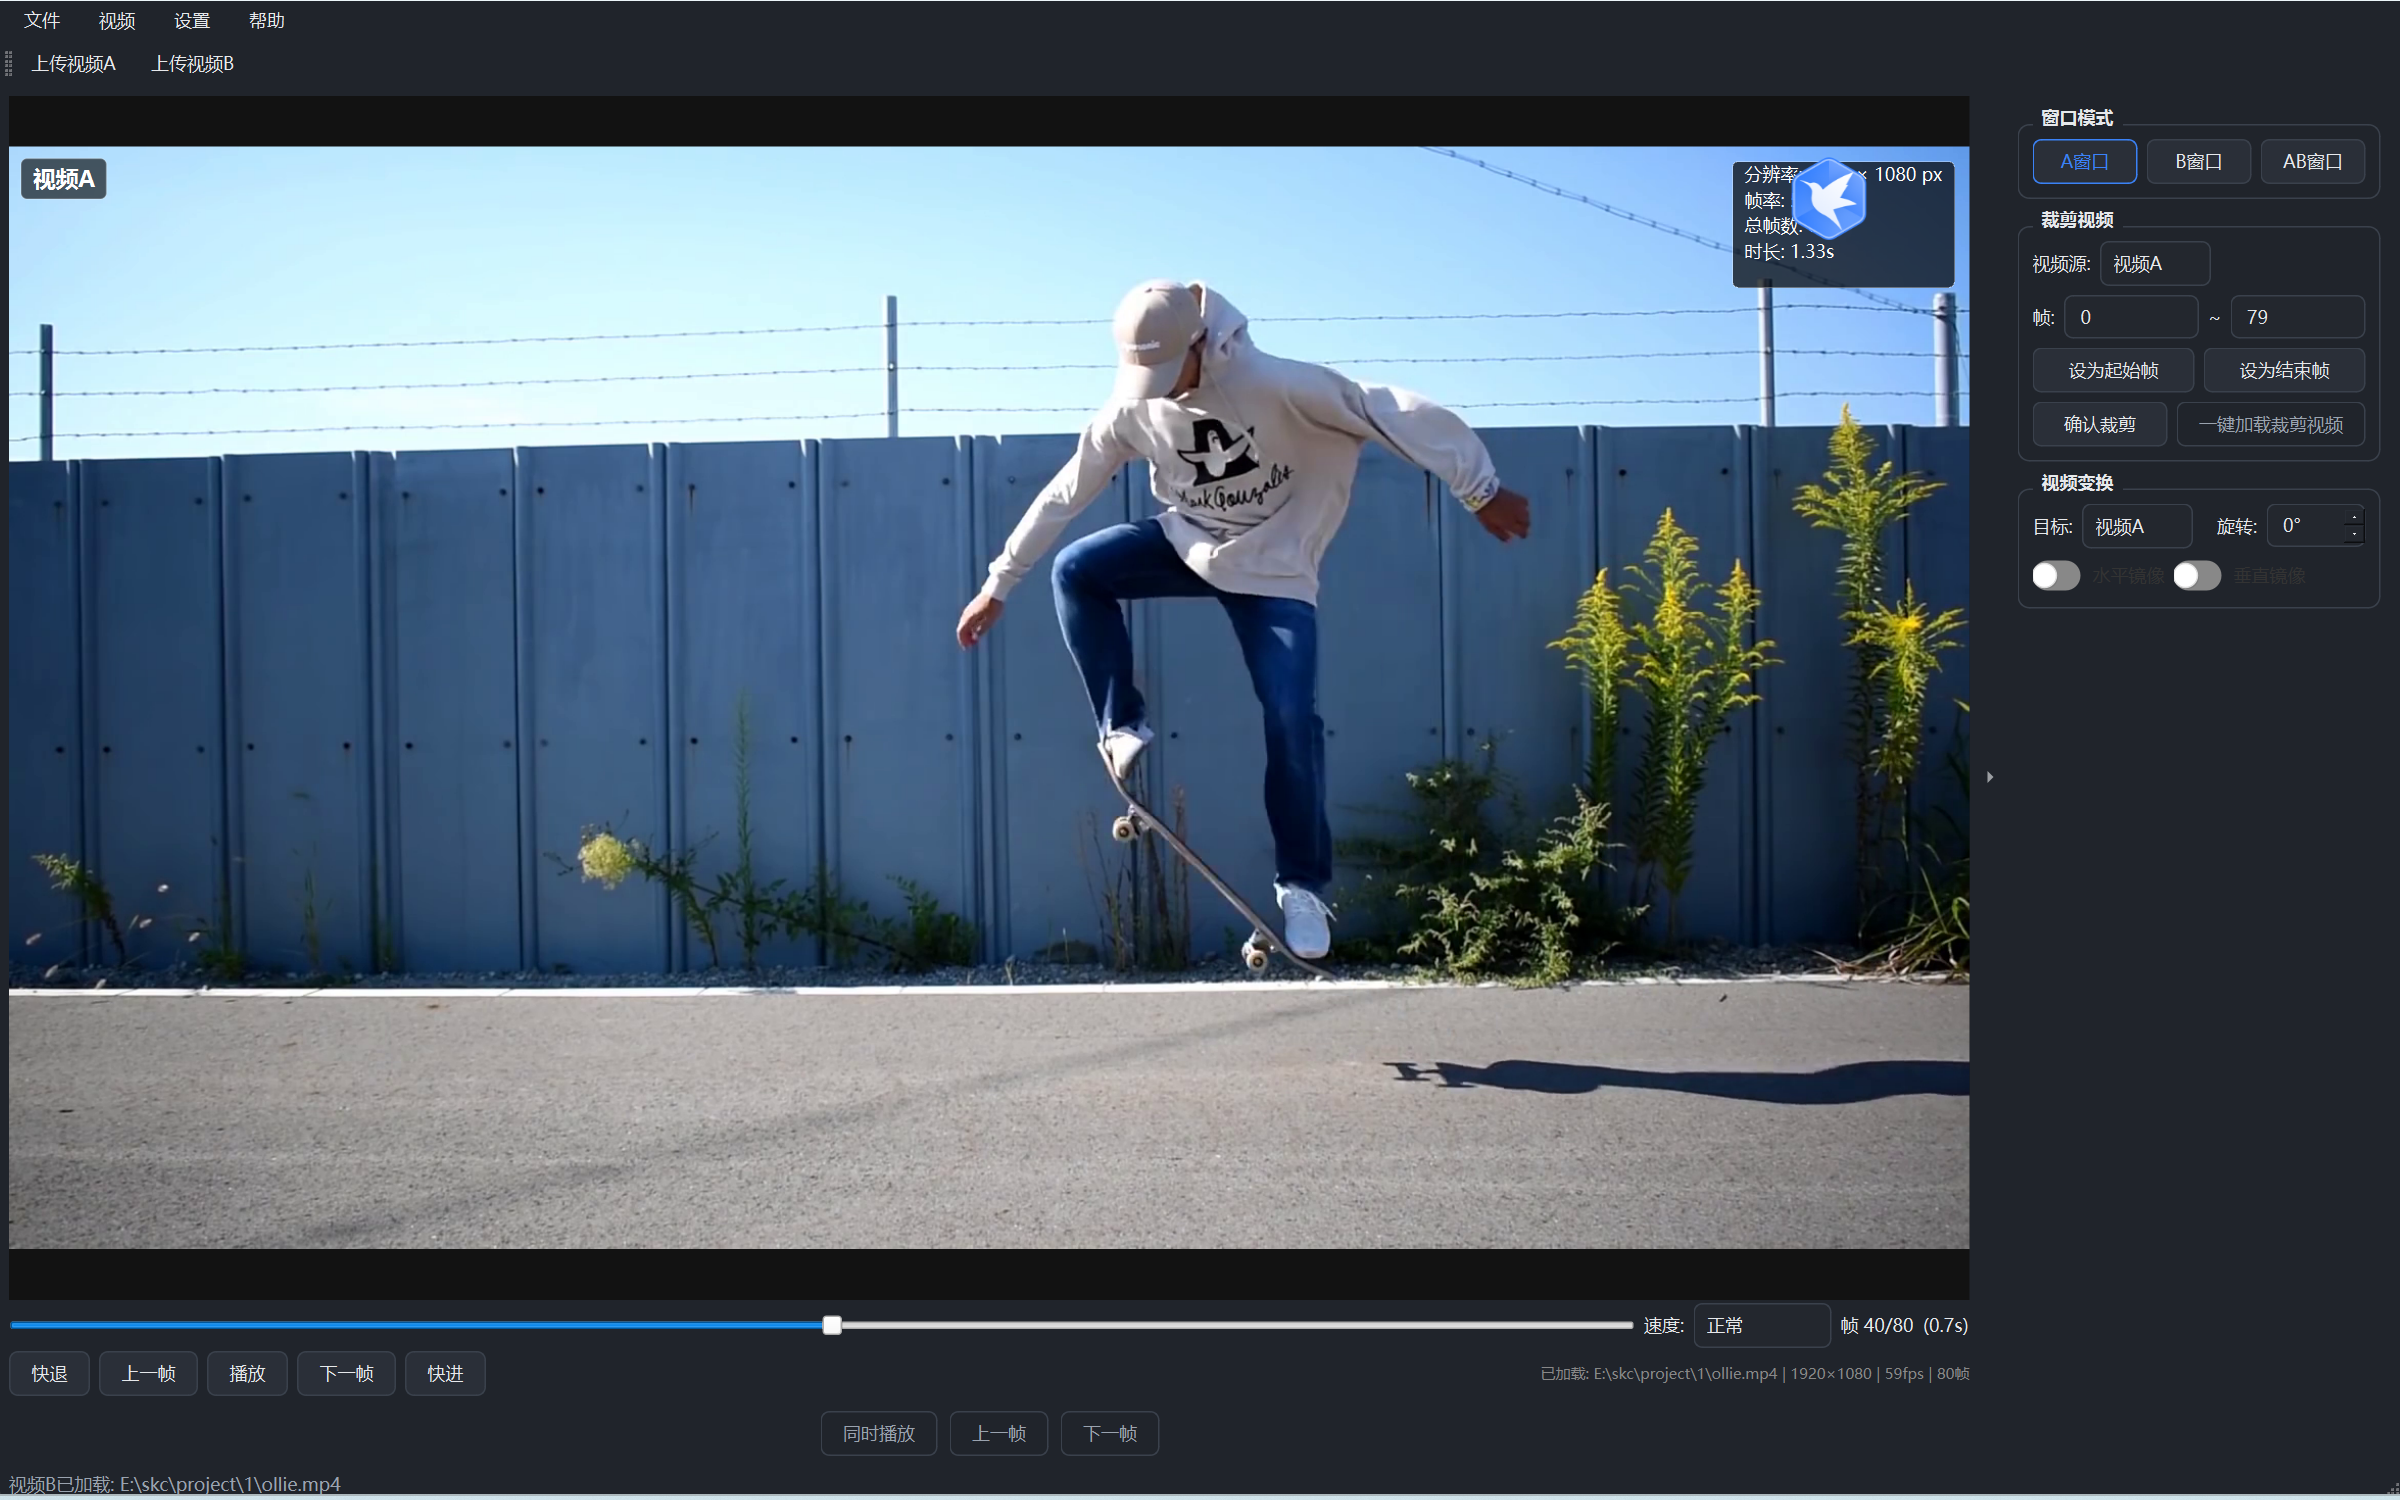
Multiple built-in interface themes are available and can be switched in the menu "Settings → Skin" to suit different environments and personal preferences.
10. Right-Side Control Panel
The right panel groups three functional areas: Window Mode, Trim Video, and Video Transform. Operations are intuitive.
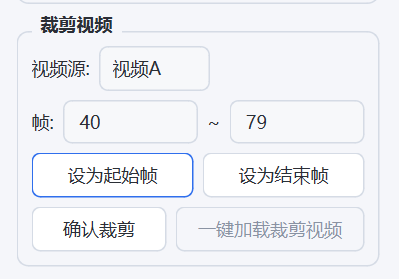
- Window Mode: One-click switch between A Window / B Window / AB Window
- Trim Video: Select the video source, set the start and end frames, and trim and export
- Video Transform: Rotation angle and horizontal/vertical mirror switches
11. Data and FAQ
| Question | Answer |
|---|---|
| Cannot open a video file? | Please confirm that the file is in a common format such as MP4/AVI/MOV. If it still cannot be opened, provide the log file and contact support. |
| Does the Free edition have feature limitations? | The Free edition focuses on video playback and comparison and does not include advanced features such as AI recognition or skeleton display. |
| How do I upgrade to the Universal Edition? | Please visit the official website to download "Matrix Sport Lab Universal Edition" and activate a Membership as needed. |
| Where is the video data stored? | The Free edition does not modify or upload your original videos. All operations are performed on your own computer. |